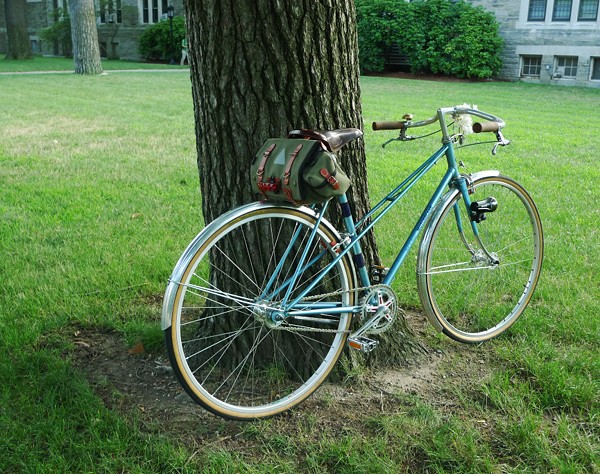
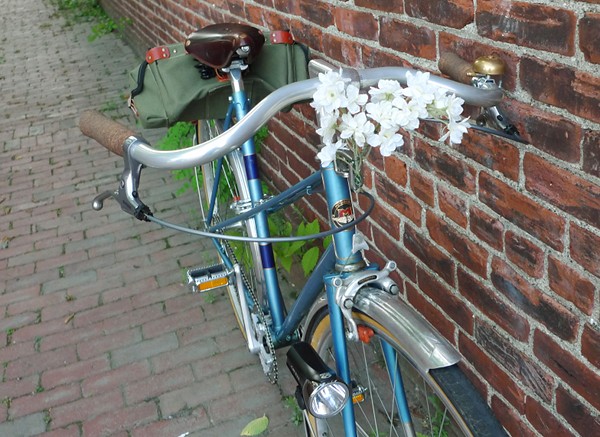
Poor, faithful Marianne. She has led so many lives, and has suffered through her reiterations with remarkable stoicism. Nothing she did for me was good enough. I railed against her when she was a road bike with drop bars. And though things improved with upside-down Albatross bars, the poor creature continued to be verbally abused for being "uncomfortable," "unstable" and "twitchy". Faced with the prospect of redundancy, Marianne shed bitter tears and begged me to take drastic measures: "Make me a fixed gear!" she cried, "I would rather go under the knife than be sold and make yet another owner miserable with my ridiculously steep geometry. Who could say no to a beauty in tears?
I will not bore you with too many technical details of the fixed gear conversion, except to say that with the right bike it is not difficult for the mechanically inclined. Marianne was the right bike, because she had the horizontal(ish) dropouts necessary for the conversion and not too many braze-ons.
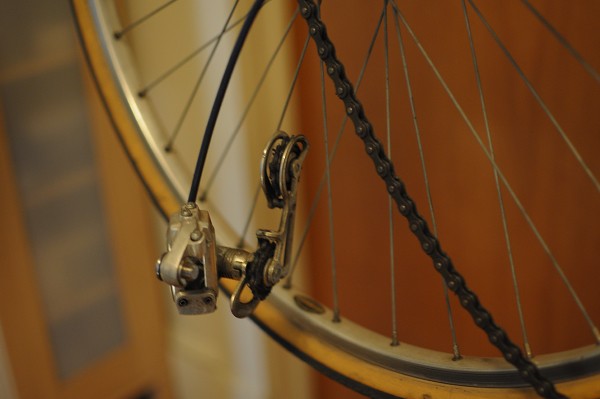
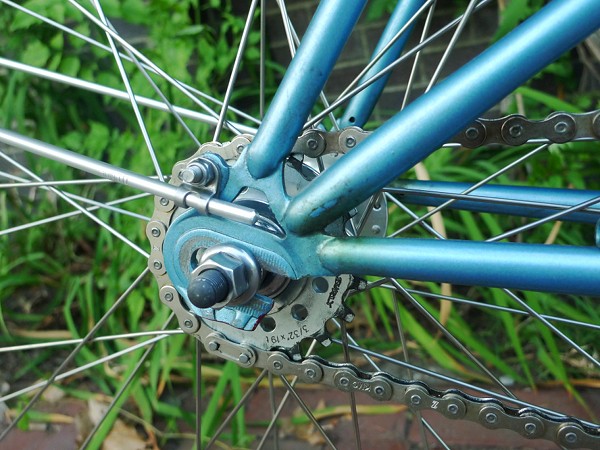
To convert this type of bicycle to fixed gear, you need to remove the rear and front derailleurs, the shifters, and all the wiring between them, and replace the rear wheel with a fixed gear wheel. In theory, you could also rebuild the original wheel with a fixed gear hub, but this is not recommended for old wheels - Given that a complete fixed gear wheel can be had for as little as $60, it is not worth the risk. You will also need a new chain, a fixed rear cog and a lock ring.
The cats were skeptical about the process, but it took the Co-Habitant just a couple of hours to turn Marianne into a ridable fixed gear.
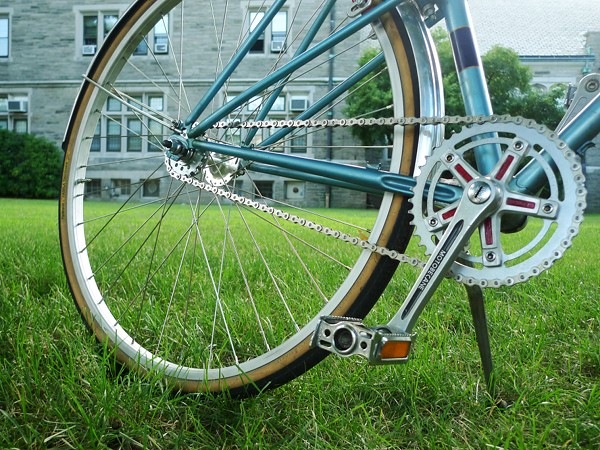
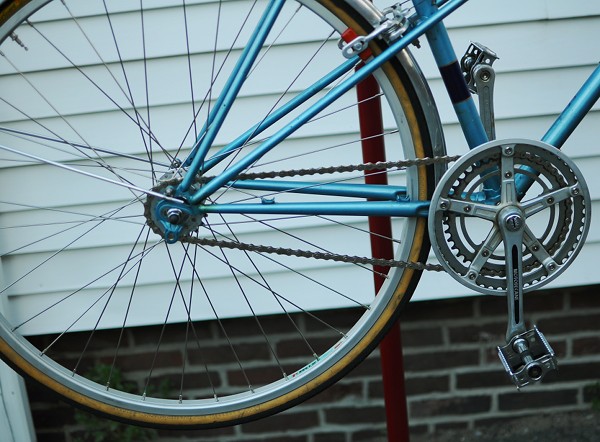
But while the bike was ridable, the aesthetics of the result were not spectacular. As you can see here, the Motobecane crankset was the kind that had both the inner and outer chainrings attached to the spider and included an integrated chainguard. There was no way to remove all that stuff and just leave one chainring and the cranks. But we did not want to get a new crankset (and the new bottom bracket that would have to go with it) - both for financial reasons, and because I really like having the original Motobecane cranks. So we decided to modify the existing set-up.
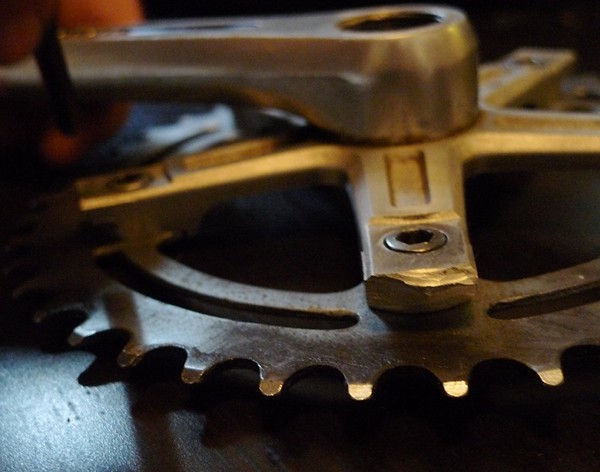
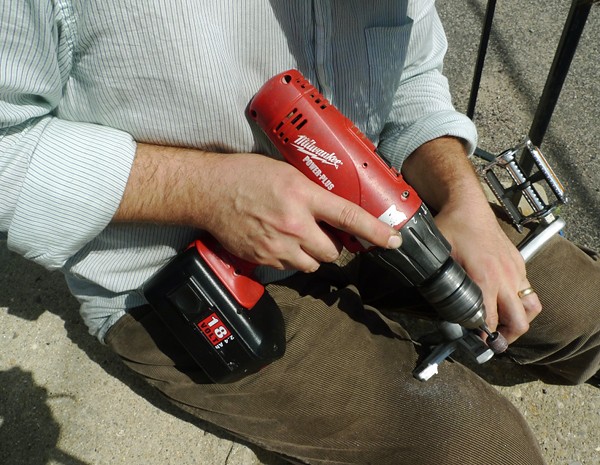
We first removed the large chainring and cut off the spider arms starting after the small chain ring. This required the Co-Habitant to spend some quality time with somervillain's dremmel.
He then polished the edges of the remaining spider arms.
All this took longer than the initial conversion, but the result was worth it.
I painted the inlays of the cranks with red nail polish.
Marianne emerged from the operating room more beautiful than ever. She even lost weight.
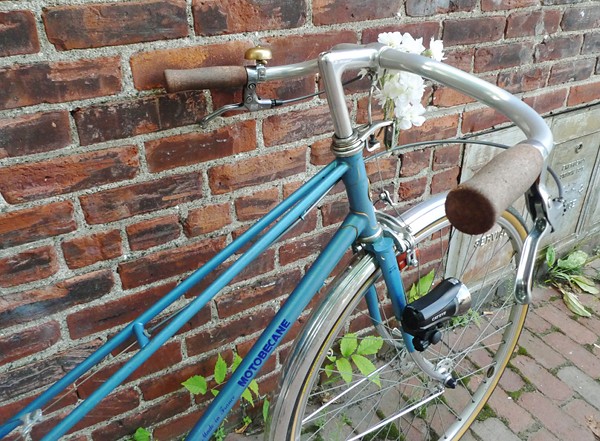
No more stem shifters!
I know this might invite criticism, but we did cut off the derailleur hanger from the rear dropouts and are thinking of popping off the little braze-ons for the shifter cables. I think this bicycle is better off as a fixed gear/ single speed (it has a flip-flop hub for the option of being turned into a freewheel) and will stay this way. Even if I should sell it down the line, I would rather sell it to a girl who can ride a bike like this, than to a girl who is hoping for a cute cruiser-type mixte and will be disappointed by this bike's handling. Also, this is a mass produced and very common frame that is not some fantastic piece of French bicycle history. I would not do this to a valuable or historically significant bike.
I've ridden the bike already, and I love it. I haven't the energy to discuss the riding experience in this post, so will save that for next time. Doing the fixed gear conversion on our own was an educational experience, and the DIY crankset turned out beautifully. Of course, all this was mainly the Co-Habitant's handiwork; I was the helper. He does not like fixed gear bikes, but did this for me anyway - which was kind of him. But maybe he will come around want a matching bike as well some day... Though personally I see him on one of these!
Friday, July 23, 2010
Subscribe to:
Post Comments (Atom)
Blog Archive
-
▼
2010
(1788)
-
▼
July
(130)
- NLAMC at the Reagan Library
- Two Boston Beauties: Rare Vintage Raleighs
- Trivia Question
- Cylinder studs & spigots
- This is a proud man.
- Sturgis Motorcycle Rally - August 9-15, 2010
- Motorcycle Pictures of the Week - Outrigger
- Excess in the Bicycle Industry: Explanations and I...
- Computer Games
- Chris Birch: Little Bit of a Cabbie, Lot of a Red ...
- New 2011 Harley-Davidson SuperLow
- I believe it's Knuckle Thursday
- Frith and Harris
- Fastrider Deluxe Shopper Pannier from Bicycle Muse
- The new official Four Aces Bonneville Leathers. V...
- HONDA MOTOR PART FOR MODIFICATION
- OLD MOTORCYCLE FOR MODIFICATION
- MODIF DRAG YAMAHA JUPITER Z 200 CC
- HONDA KARISMA DRAGSTER MODIFICATION
- MODIFICATION SATRIA FU 150 CC ORANGE LIGHT BRUSH
- Not sure if I posted this before. One of the Asco...
- Retrovelo Paula in the Countryside (with Her Vinta...
- Speedway side-car outfit
- 50 Miles Without Coasting
- The 1933 TT races
- DIY Waterbottle Mounts on the Pashley Roadster
- Rob's 1932 Model 40 Norton
- MOTORCYCLE PARTS AND ACCESSORIES cost REFERENCE 2010
- MOTORCYCLE PARTS AND ACCESSORIES cost REFERENCE 2010
- Motorcycle Pictures of the Week - Jenn Bair
- forest hill climb
- Jack Riepe -- Motorcycle Humorist
- Marianne's Conversion
- Ducati launch the 848 EVO
- The new Peugeot Tweet 125
- Double knockers in 1937...or not?
- Who Wants a T-Shirt?
- Velo Inventory
- 1927 Model 25 Norton
- Von Dutches Waffen
- Yamaha Recalls 2009 VMX17 for Electrical Problem
- Truss Lust!
- BMW Recalls 2005-2009 R1200RT Police Bike for Faul...
- total concentration.
- Harley-Davidson Recalls 2010 FXDF for Fork Spring ...
- Pa's 1932 Model 20 Norton
- New Legs! The Bicycle as Sculptor
- 1931 CS1 Norton
- Rediscovering Familiar Places... and the Hills You...
- In the pits.
- 1936 Model 30 International Norton
- The 1931 TT races
- Motorcycle Parking Lot Dangers
- Don't Drink the Koolaid, but Drink the Lemonade? T...
- Motorcycle Pictures of the Week - POPCYCLE
- Step right up race fans!
- Kawasaki Recalls 2009-2010 EX650 Motorcycles for B...
- Bob?
- It's Like Walking vs Jogging
- Tim's 1928 CS1 Norton
- The Age of Capitalism
- Markus's projects
- Braking: Not Always Your Friend
- Hollowell on his 1921 Model 16H Norton
- FCCI RACING DRAG THAILAND
- Custom Rear Racks for Roadsters!
- Support the cause!
- The 1928 catalogue
- MODIFICATION PART: FILTER OIL
- MODIFICATION PART: COP LAMP
- MODIFICATON PARTS: SPOOL ASSY
- MODIFICATION PART: SHOCKBREAKER BELAKANG
- MODIFICATON PARTS: CARBURATOR ASSY
- BOSH GEAR BORE UP MODIFICATION PART
- Coaster Roadster!
- Balloon Bop
- Columns of two...form it up!
- 1920s Norton cams
- Larger Continent, Longer Trips, Hotter Days, Grand...
- A little help here. Hey where do you want the keg...
- John's c1925 Model18 Norton
- Home Alone, with Bicycle
- Motorcycle Pictures of the Week - Marchand
- Kickin' up a little dust
- Viktor's projects
- Hill Climb Pictures Rock!
- Adjusting to the Velo Timezone
- CDI SPOOL ASSY FOR HONDA AND YAMAHA MOTORCYCLE
- HANDLE REM RH FOR HONDA-YAMAHA-SUZUKI MOTORCYCLE
- Cycling in a Heatwave... Making Friends with Florals
- Barbara and Laurie's 1923 Model 16H Norton
- Barbara and Laurie's 1925 Model 18 Norton
- I made it!
- Royal Enfield prepares for battle!
- Beer me! Hurry woman I'm in a race!
- CDI REXTOR FOR DRAG MODIFICATION
- Joe Craig on the CS1 - Moore variety
- 2010 NEW HONDA VFR1200F CONCEPT SKETCHES
- ( 2010 ) NEW TRIUMPH SPEED TRIPLE SE
- Happy 4th of July!
-
▼
July
(130)




0 comments:
Post a Comment